Install Claude Code, learn to navigate it, and configure your IDE with browser integration as your first MCP server.
I wasted my first hours with Claude Code running it in a bare terminal. No IDE integration, no browser feedback, no CLI fluency. Claude generated code that violated important conventions in my project: hex colors instead of design tokens, classes instead of pure functions, files landing in the wrong directories. I spent more time correcting its output than I saved by generating it.
Then I spent 30 minutes setting up my environment properly. The difference was immediate. Claude started catching its own type errors, my IDE showed diffs I could review inline, and the browser extension gave me live visual feedback without switching windows. That 30 minutes paid back on every single session after it.
Chapter 2 ended with a promise: prediction without a running engine is just theory. You have the mental model of how Claude Code works and the reference card that maps its architecture. Now you wire it up and drive.
The environment setup is the investment that pays back on every single session.
This chapter is the beginning of the hands-on sessions. By the end, you will have Claude Code installed and authenticated, CLI navigation skills to move fast and interrupt with intent, your IDE wired up for inline diff review, and the browser extension running as your first MCP server.
Claude Code can be used with various interfaces, the CLI running on a terminal being the initial and most common use case of it.
Claude Code runs in all the terminals, but it integrates well with some specific ones. The integration with the terminal affects your experience for working with the agent. How line-breaks are handled, how notifications are hooked up depends on which terminal you use.
I personally prefer using iTerm2 as it has been my terminal of choice for more than a decade. And, that's a first-class terminal to use with Claude Code. Other notable first-class options are: WezTerm, Ghostty, and Kitty.
You could also use editor terminals on VS Code, WebStorm, Alacritty, Zed, and Warp. That's up to you. Just execute /terminal-setup in your editor terminal if you do, this is not required for other terminals.
The /terminal-setup command is only visible in terminals that require manual configuration. In iTerm2, WezTerm, Ghostty, or Kitty, you won't see this command because Shift+Enter already works natively on them.
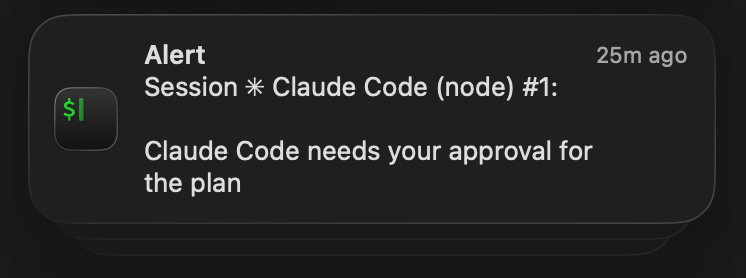
Claude fires a notifications event to your system (via Notification hook) when it finishes working or awaits your input (via Stop hook).
Ghostty and Kitty terminals support desktop notifications by default. iTerm 2 requires a small setup.
Notifications is a killer feature that enables multi-tasking for an AI-native engineer. You delegate tasks to the agents, and let them loop you in when they need you.
In addition to the system notifications, you can hook game character voice lines to your Claude Code workflow via PeonPing.
Head over to Claude Code setup docs to follow the installation guide.
Advanced setup - Claude Code Docs
System requirements, platform-specific installation, version management, and uninstallation for Claude Code.

Once installed, verify the installation in your terminal:
claude --versionIf you see a version number, you are ready to authenticate.
Once you launch claude for the first time in your terminal, Claude Code opens a browser window for you to log in. There are various account types you can authenticate with your subscription.
If you're new to Claude, you can try it for free. Ask a subscriber friend to give you a free guest pass. They can get it from this screen on Claude, or via /passes.
Authentication comes in three flavors:
Your choice here affects both cost structure and daily workflow. With an API key, you pay per token. With a Claude Pro, or Max subscription, you get bundled usage. Pro works well for light exploration and learning. Max is where professional daily use becomes cost effective, because the bundled token allocation covers most workloads without the pay-per-token anxiety.
Here is how to think about the decision:
You'll learn how to make the best out of your usage limits in Chapter 9 with Context and Cost Engineering practice.
To authenticate with a subscription, run claude and follow the browser-based login flow:
claudeTo authenticate with an API key, set the environment variable before launching:
export ANTHROPIC_API_KEY="your-key-here"
claudeCost/usage awareness from day one is not optional. Every token you waste on a misconfigured session is money and context window capacity you cannot get back.
Chapter 2 showed you that roughly 10k+ tokens are consumed before you send your first message. Make the rest count.
After authenticating, verify everything works by asking Claude a simple question:
claude "What version of Claude am I talking to?"If you get a coherent response, your installation and authentication are working. Your CLI is running.
To run diagnostics and verify that you have no misconfigurations or any anti-patterns related to your installation, run /doctor command in Claude Code.
claude doctorclaude auth statusBefore you start working, you need to know how to steer the CLI efficiently.
Claude Code CLI can be either invoked with one-off execution via the -p flag with a single prompt, or invoked for the interactive mode.
claude -p "What version of Claude am I talking to?"

# Process piped content
cat logs.txt | claude -p "explain"claude "What version of Claude am I talking to?"See the complete CLI reference below to get familiar with the flags and capabilities.
CLI reference - Claude Code Docs
Complete reference for Claude Code command-line interface, including commands and flags.

Claude Code is a conversation-driven tool, especially in the beginning where you still need to build your system around it and course correct its behavior. Knowing when and how to interrupt, redirect, and reset is as important as knowing what to ask.
The single most important habit I can teach you at this stage: interrupt early and often when things go off track.
Use Esc to interrupt the agent. Don't be shy about using it often, even though at times it feels like shutting up the agent.
These are the shortcuts you will often use in your sessions:
| Shortcut | What It Does |
|---|---|
Esc | Interrupt current generation or tool call |
Esc + Esc | Rewind to a previous checkpoint |
Shift + Tab | Cycle through permission modes, and to switch to Plan Mode |
Tab | Accept autocomplete suggestions |
Shift + Enter | Add multi-line prompts |
Up/Down Arrow | Navigate through previous prompts |
Cmd + V | Paste text into the conversation |
Ctrl + V | Paste images into the conversation |
Ctrl + R | Search command history |
Ctrl + S | Stash / Unstash the prompt |
Ctrl + Z | Detach from the session and go back with fg |
! | Enter bash mode (executed commands are not stored in context) |
And, these are some of the terminal shortcuts you'd find useful to edit your prompt:
| Shortcut | What It Does |
|---|---|
Alt + Left/Right Arrow | Move the caret one word |
Ctrl + W / Ctrl + Backspace / Alt + Backspace | Delete the word before the caret |
Ctrl + A | Move the caret to the beginning of the line |
Ctrl + E | Move the caret to the end of the line |
Ctrl + U | Delete from the caret to the beginning of the line |
Ctrl + K | Delete from the caret to the end of the line |
Ctrl + Y | Paste the last deleted text (yank) |
Ctrl + L | Clear the terminal screen |
Esc is your most important key while building your agentic infrastructure. The cost of letting Claude continue in the wrong direction is always higher than the cost of interrupting and redirecting.
These commands control your session state:
| Command | Purpose |
|---|---|
/clear | Reset context between small tasks. Fresh start without closing the session. |
/compact | Compress context when it grows. Add a focus hint: /compact "preserve the migration sequence" |
/context | Check context usage percentage. |
/fork | Branch into an independent session that inherits the current context. |
/plan | Enter read-only Plan Mode. Claude explores and designs before writing code. |
/rename | Set a human-readable name for the session. Shows in the status line. |
/resume | Resume a previous session. Pick up where you left off. |
/rewind | Undo recent turns without clearing the entire session. |
/tasks | View the current task list. Created from plans with multiple steps or in team workflows. |
Run /context to review your context usage. When it crosses 60-70%, consider starting fresh. Performance degrades noticeably at higher usage. Chapter 9 covers the patterns for efficient context management.
Watch for drift signals during a session. When you first start working with AI coding agents, sessions often go off-track.
When you see any drift, press Esc immediately. Do not wait to see if Claude self-corrects. It costs less to redirect early than to untangle a wrong-direction implementation that touched 15 files.
Your course correction on project memory is the keystone for the agentic system that you'll build across this course.
After pressing Esc, give Claude a clear correction:
That approach is wrong because [reason]. Instead, do [specific approach].Claude is already aware of your interruption of its work, and has the full context before the interruption.
The specificity of your redirect matters. Vague corrections ("that's not what I wanted") produce vague results. Name the file, the function, the constraint to efficiently redirect.
Claude keeps auto-memory of its learnings across sessions. However, to build reliable agentic systems, you should save any correction after the agent's mistake to the project memory, in a modular and systematic way for larger projects. You will explore this approach in Chapter 5: Guardrails for Quality.
When Claude is generating a response, you can type your next prompt immediately. It queues up and sends automatically when the current response completes. This is useful when you spot something mid-generation that you want to follow up on.
You can also edit a queued message before it sends. Just hit Up Arrow key to edit your queued messages, or /rewind (Esc + Esc keys) to rewind to a checkpoint before your queued messages.
If you need to recall a previous prompt, hit Ctrl + R to search through your message history. This saves significant time when you are running variations of the same request.
Three scenarios, three responses:
Claude went slightly off-track but understands the goal
a. Press Esc, use /rewind to revert the conversation to a previous checkpoint then redirect with a specific correction. "Use [validation framework] validation here, not a manual type guard."
b. /rewind and /fork to try multiple different approaches (different models, prompts etc) on forked sessions.
Session is bloated (check with /context): Save your progress by summarizing what you have accomplished so far with /compact [your summarization instruction] to shorten your context.
Claude is confused or context is polluted: Run /clear and restate the task from scratch. This costs you the context but removes the pollution. Often faster than trying to correct accumulated misunderstandings.
Interrupt early and often. A 2 second Esc saves a 10 minute frustrating untangle.
Open a Claude session now and practice.
Run /context to see your baseline usage.
Start a task, then hit Esc mid-generation to experience the interrupt the agent.
Run /rewind (or hit Esc + Esc) to go back to a previous checkpoint to clear both your context and the code. This is a powerful habit to revert a slop / context pollution.
Run /clear to reset your session.
You can navigate and interrupt. Now set up the environment where you will review Claude's work.
Claude Code was originally built as a terminal agent but it's not limited to a terminal. The agent is available across many channels and interfaces. Depending whether you work in a terminal or an editor, you will get a similar but different "Claude Code" experience.
You have already installed the CLI. To discover the differences of CLI with other channels, and to integrate Claude to where you work install the apps and extensions that fits your workflow:
Standalone GUI for macOS and Windows. You can use it as a GUI over Claude Code or as Cowork.
Desktop application - Claude Code Docs
Get more out of Claude Code Desktop: parallel sessions with Git isolation, drag-and-drop pane layout, integrated terminal and file editor, side chats, computer use, Dispatch sessions from your phone, visual diff review, app previews, PR monitoring, connectors, and enterprise configuration.

Run tasks asynchronously on secure cloud infrastructure at claude.ai/code. You need to connect your GitHub repo, and it will pick up CLAUDE.md and project settings from your there.
Use Claude Code on the web - Claude Code Docs
Configure cloud environments, setup scripts, network access, and Docker in Anthropic's sandbox. Move sessions between web and terminal with --cloud and --teleport.

Native extension that embeds Claude Code directly in VS Code.
Use Claude Code in VS Code - Claude Code Docs
Install and configure the Claude Code extension for VS Code. Get AI coding assistance with inline diffs, @-mentions, plan review, and keyboard shortcuts.

Plugin for IntelliJ product suite such as IDEA, PyCharm, WebStorm, GoLand, PhpStorm, and Android Studio.
JetBrains IDEs - Claude Code Docs
Use Claude Code with JetBrains IDEs including IntelliJ, PyCharm, WebStorm, and more

Mention @Claude in any Slack channel to delegate coding tasks to Claude Code Web without leaving your conversation.
Claude Code in Slack - Claude Code Docs
Delegate coding tasks directly from your Slack workspace

Continue local sessions from any device with Remote Control - Claude Code Docs
Continue a local Claude Code session from your phone, tablet, or any browser using Remote Control. Works with claude.ai/code and the Claude mobile app.

Connect Claude Code to your Chrome browser for automation without leaving the terminal or VS Code.
Use Claude Code with Chrome - Claude Code Docs
Connect Claude Code to your Chrome browser to test web apps, debug with console logs, automate form filling, and extract data from web pages.

Bring Claude Code into your CI/CD pipeline with a GitHub Action.
Claude Code GitHub Actions - Claude Code Docs
Learn about integrating Claude Code into your development workflow with Claude Code GitHub Actions

Run Claude Code in GitLab CI/CD jobs to automate development work.
Claude Code GitLab CI/CD - Claude Code Docs
Learn about integrating Claude Code into your development workflow with GitLab CI/CD

The Claude Code CLI running in a terminal is a first-class interface to the coding agent. It gets the most active development and brand new features first.
Claude integrates with the code editors to share the editor context. It knows about your current file and text selection, and proposes changes directly inside your editor window with the diff view.
These are the benefits of integrating your code editor with Claude Code:
Each setup has different strengths. Pick the one that fits where you already work.
Good for: Engineers who want the tightest possible integration between their editor and Claude Code, and are open to switching editors for a better agentic workflow.
Zed has a native Agent Panel that runs Claude Code directly inside the editor. You get the full agentic experience with diffs, file context, diagnostics without switching windows or installing an extension.
Written in Rust, Zed handles large agentic operations without lag. When Claude modifies 15 files in a single pass, the editor keeps up. Auto-save and file watchers mean edits appear instantly, with no manual refresh required.
Zed is purpose-built for the kind of multi-file, high-velocity workflow that Claude Code produces. If you are evaluating editors specifically for agentic development, it is worth trying.
If you prefer to use Claude Code in your terminal, you need to switch to Zed's Agent Panel for the editor integration. Zed doesn't show up on Claude CLI's /ide integration path.
Good for: Engineers already productive in VS Code, Cursor, or Antigravity who want Claude Code integrated without changing their existing workflow.
Install the Claude Code extension and you get inline diff views for Claude's edits, @-mentions for adding context references, and plan review panels. All inside the editor you already know.
code --install-extension anthropic.claude-codeCursor and Antigravity are both built on VS Code, so the same extension works across all three. If your muscle memory, keybindings, and extensions already live here, there is no friction in adding Claude Code on top.
Good for: Engineers using WebStorm, IntelliJ, PyCharm, or any other JetBrains IDE who want to stay in their existing environment.
The Claude Code plugin for JetBrains IDEs brings the terminal-based Claude Code experience into the IDE sidebar. You get the familiar JetBrains diff viewer for reviewing Claude's changes, and the IDE's project tree and diagnostics feed context back to Claude automatically.
If you rely on JetBrains' IDE tools as part of your daily workflow, this setup lets you keep those tools while adding Claude Code alongside them.
Good for: Engineers who use Vim, Neovim, Helix, or any terminal-native editor as their primary tool, and prefer to stay entirely in the terminal.
If your editor lives in the terminal, Claude Code fits naturally alongside it. A tmux or tiled terminal session gives you the same split-screen workflow without any extension or plugin layer.
# tmux split: Claude on the left, your editor on the right
tmux new-session -s claude
tmux split-window -h
# Left pane: claude
# Right pane: vim, nvim, helix, or your terminal editor of choice
This setup has no IDE integration layer, so diffs and diagnostics are handled through git and your editor's native tools rather than a GUI panel. For developers already fluent in that workflow, it adds no overhead.
Without relying on editor terminal, you can use your terminal of choice and connect your session to your editor of choice using the /ide command in Claude Code.
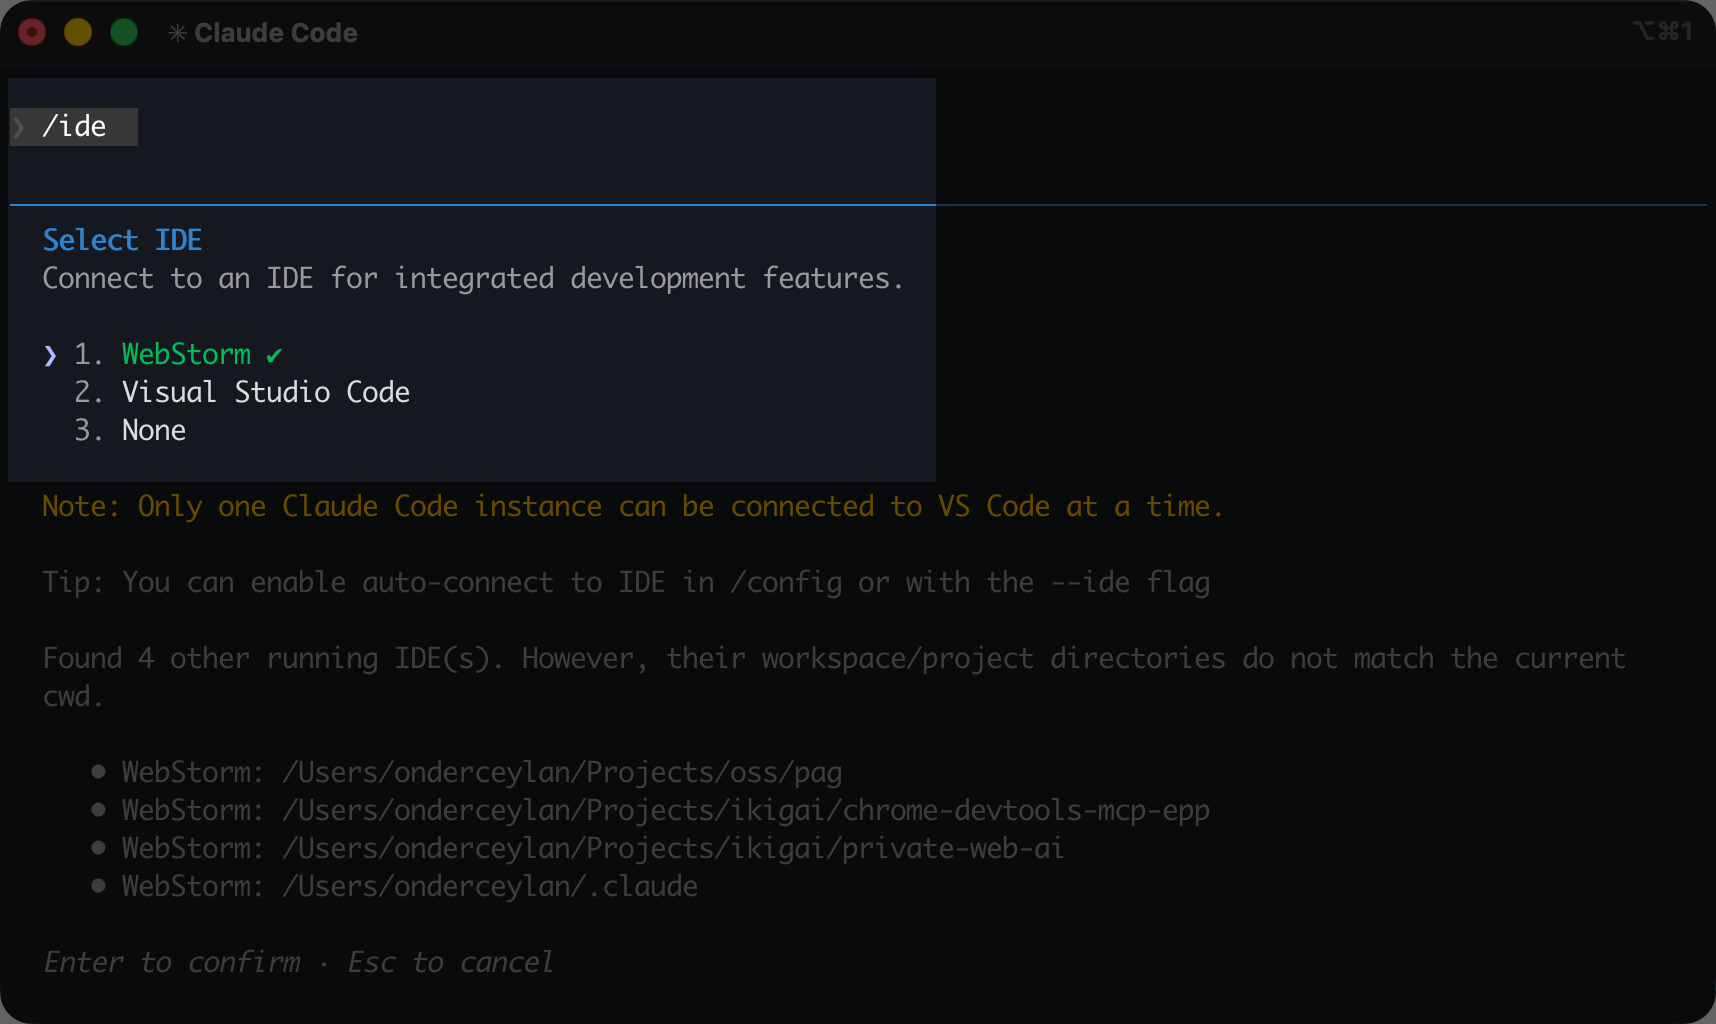
/ide commandWhen you select a file or highlight a line range in your IDE and then invoke Claude, it automatically picks up that context via /ide. This means you can point Claude at a specific function and say "refactor this" without typing the file path.


You get the diff view for the approval of each edit Claude makes in your integrated editor by default.
You could switch between the permission modes and plan mode using Shift + Tab key and set Accepts Edits On mode which will accept all the edits by default and would not prompt you for reviewing each edit.

accepts edits on mode to auto-approve Claude's editsWhen you auto-accept edits of Claude, review your local git changes with /diff within Claude's interactive CLI or git diff. Alternatively, use your editor's built-in diff view to review them before committing. In VS Code, the Source Control panel shows all modified files. In Zed, the git gutter highlights changes inline.
You will explore how to manage permissions for tool calls like Edit in a systematic way in Chapter 4: Configuring Your First Project.
Never commit Claude's changes without reviewing them. This is your safety net until you build your guardrails for quality.
The Claude Code browser extension gives Claude eyes on your web application runtime, and it is a fantastic milestone towards the feedback loop you will create. Install it from the Chrome Web Store if you haven't yet.
With the browser extension, Claude can navigate pages to test your app, check layouts, fill forms and read console errors right in your active Chrome/Edge browser instance.
Run Claude with Chrome enabled
claude --chromeConnect Claude to the Chrome Extension
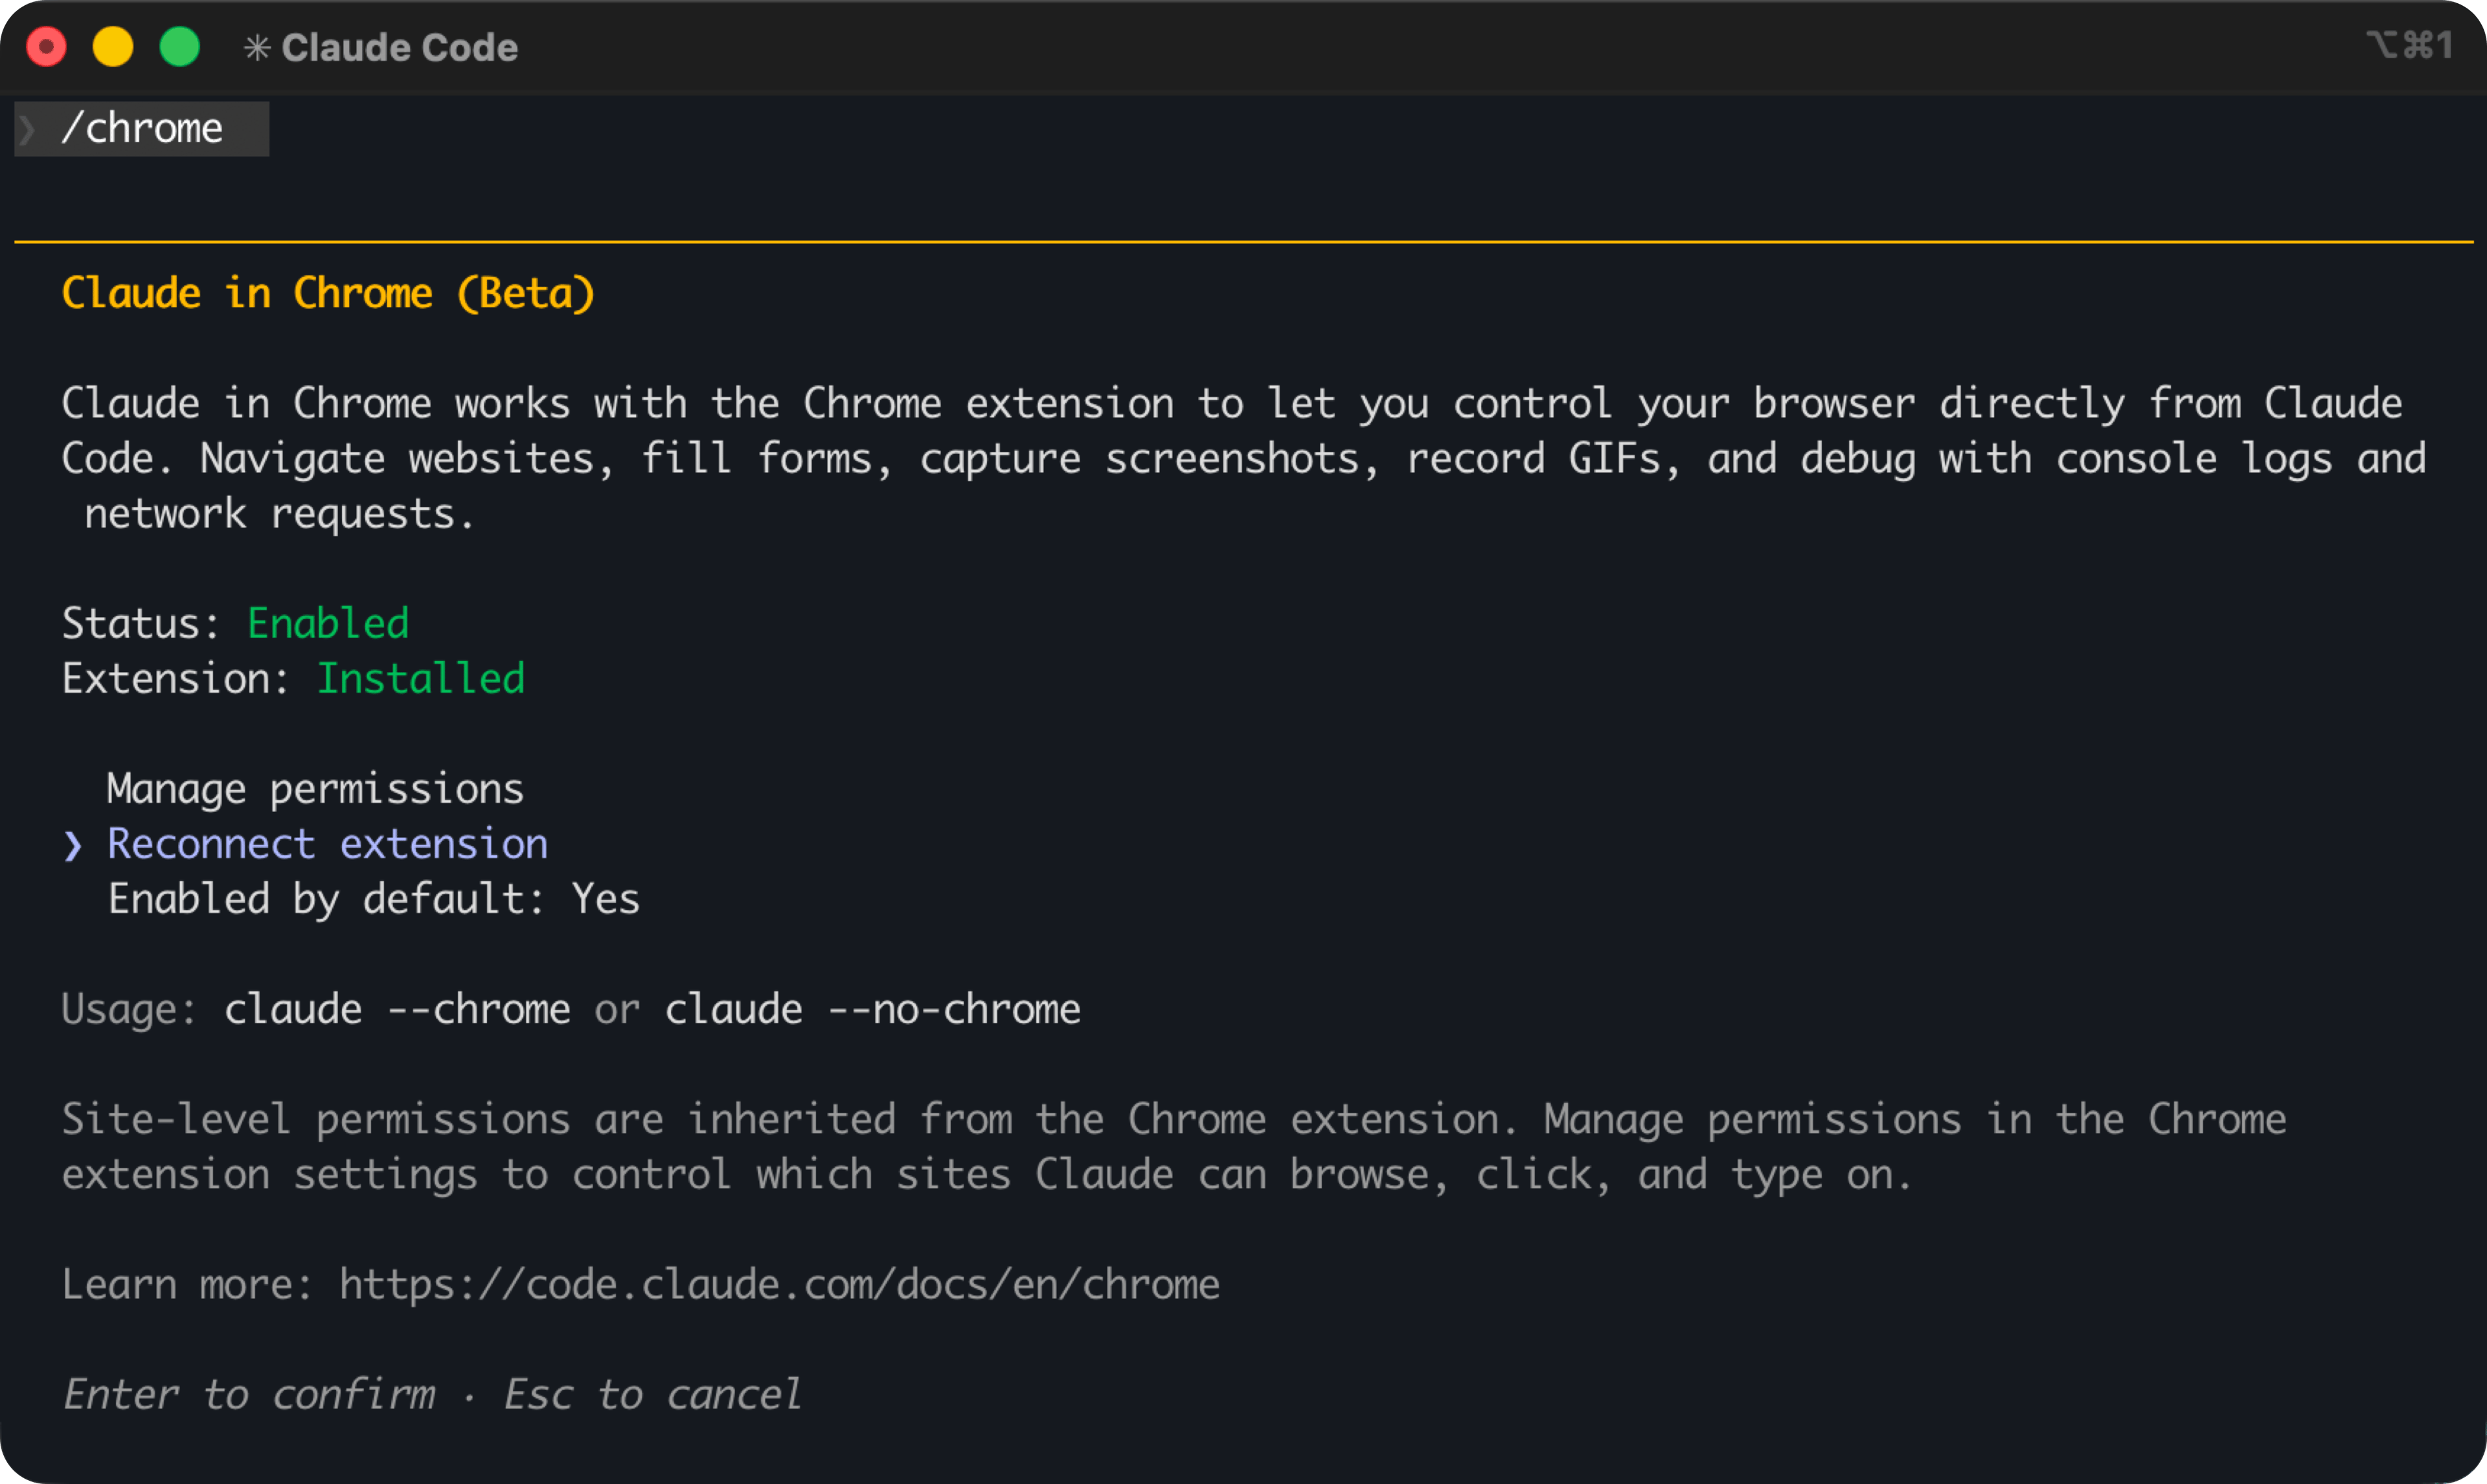
/chrome commandOnce connected, ask Claude to use the browser
Go to https://code-agents.ai, click on "Start Free", and tell me what appearsclaude-in-chrome is a browser MCP server, and once enabled, browser actions become part of your coding workflow. I use a browser MCP constantly when building web apps:
Use Claude Code with Chrome - Claude Code Docs
Connect Claude Code to your Chrome browser to test web apps, debug with console logs, automate form filling, and extract data from web pages.
As Claude For Chrome is a browser extension, it's not capable of resizing the browser window. This creates false positives and hallucinations for Claude when you'd like to test your web app for mobile viewports.
You'll learn to use advanced browser instrumentation techniques with other browser MCPs in Chapter 6.
This is the first step in what Chapters 5-6 will build into a complete verification system. You gave Claude eyes to see the runtime of your project.
Claude Code on the web lets you kick off sessions directly from the Claude app without any local setup. It runs on Anthropic managed cloud infrastructure, so there is nothing to install or configure. It is the right choice when you want to:
Claude Code is also available on the Claude app for iOS and Android, so you can kick off tasks running on Claude cloud infra and monitor progress from your phone on the go.
Use Claude Code on the web - Claude Code Docs
Configure cloud environments, setup scripts, network access, and Docker in Anthropic's sandbox. Move sessions between web and terminal with --cloud and --teleport.
The /teleport command moves an active terminal session to the browser, letting you monitor progress from any device.
You can alternatively create a new web session on claude.ai from your terminal, and check progress from your phone.
claude --remote "Fix the authentication bug in src/auth/login.ts"Claude cloud infrastructure cannot run docker containers. This might be a problem for verifying complex systems that depend on backend, databases etc.
You will learn how to get around this limitation using your own CI/CD pipeline in Chapter 8.
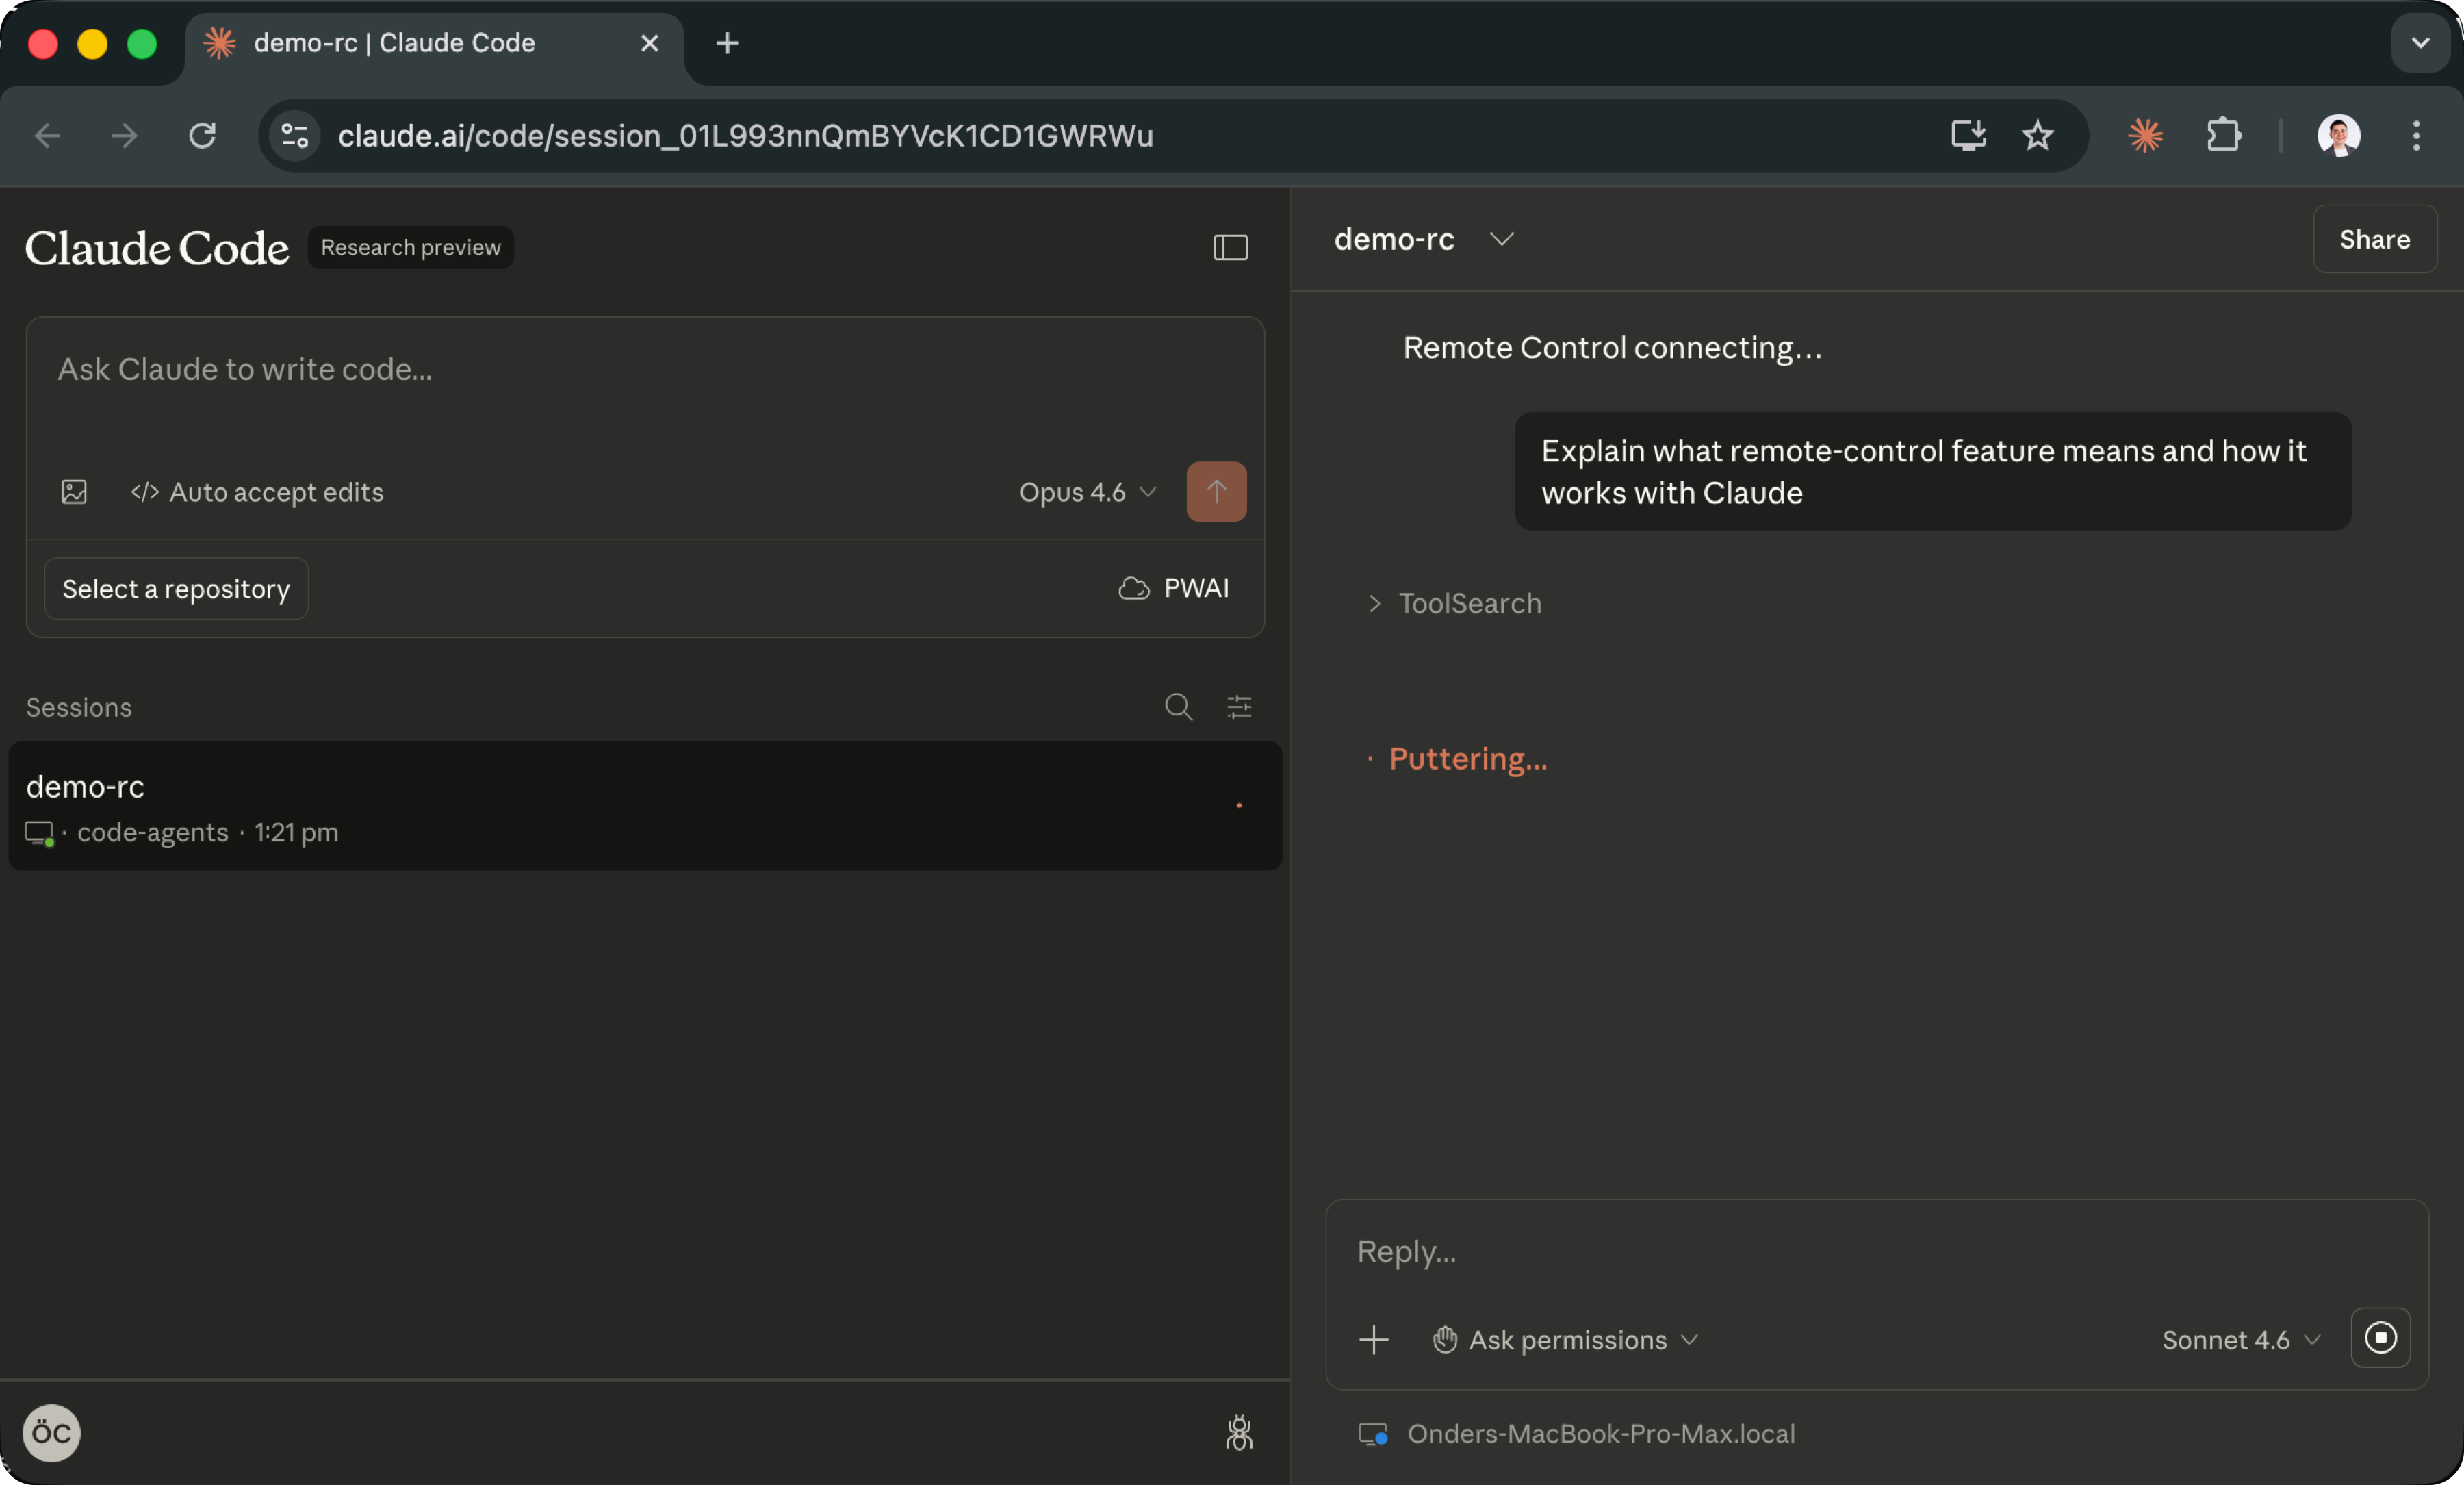
Remote Control takes this further. Instead of just watching, you can leave your session behind running on your machine, and send messages and interact with your local Claude Code session from any browser on another machine or from the Claude mobile apps. Your terminal keeps running locally with your filesystem, MCP servers, tools, skills and project configuration. The browser or phone is just a window into that session.
Start a remote controllable session from your project directory:
claude remote-control --name "custom session title"Or, if you are already in a session, run /remote-control (or /rc) command to promote it. Claude prints a session URL, and the remote control session becomes visible on Claude Web and Claude Mobile apps. Open the URL on any device, find the session by name in claude.ai/code, or navigate to Code on your Claude mobile app.
The conversation stays in sync across every connected device. You can send a message from your terminal, continue from a browser tab, and check results on your phone. If your laptop sleeps or loses Wi-Fi, the session reconnects automatically when the machine comes back online.
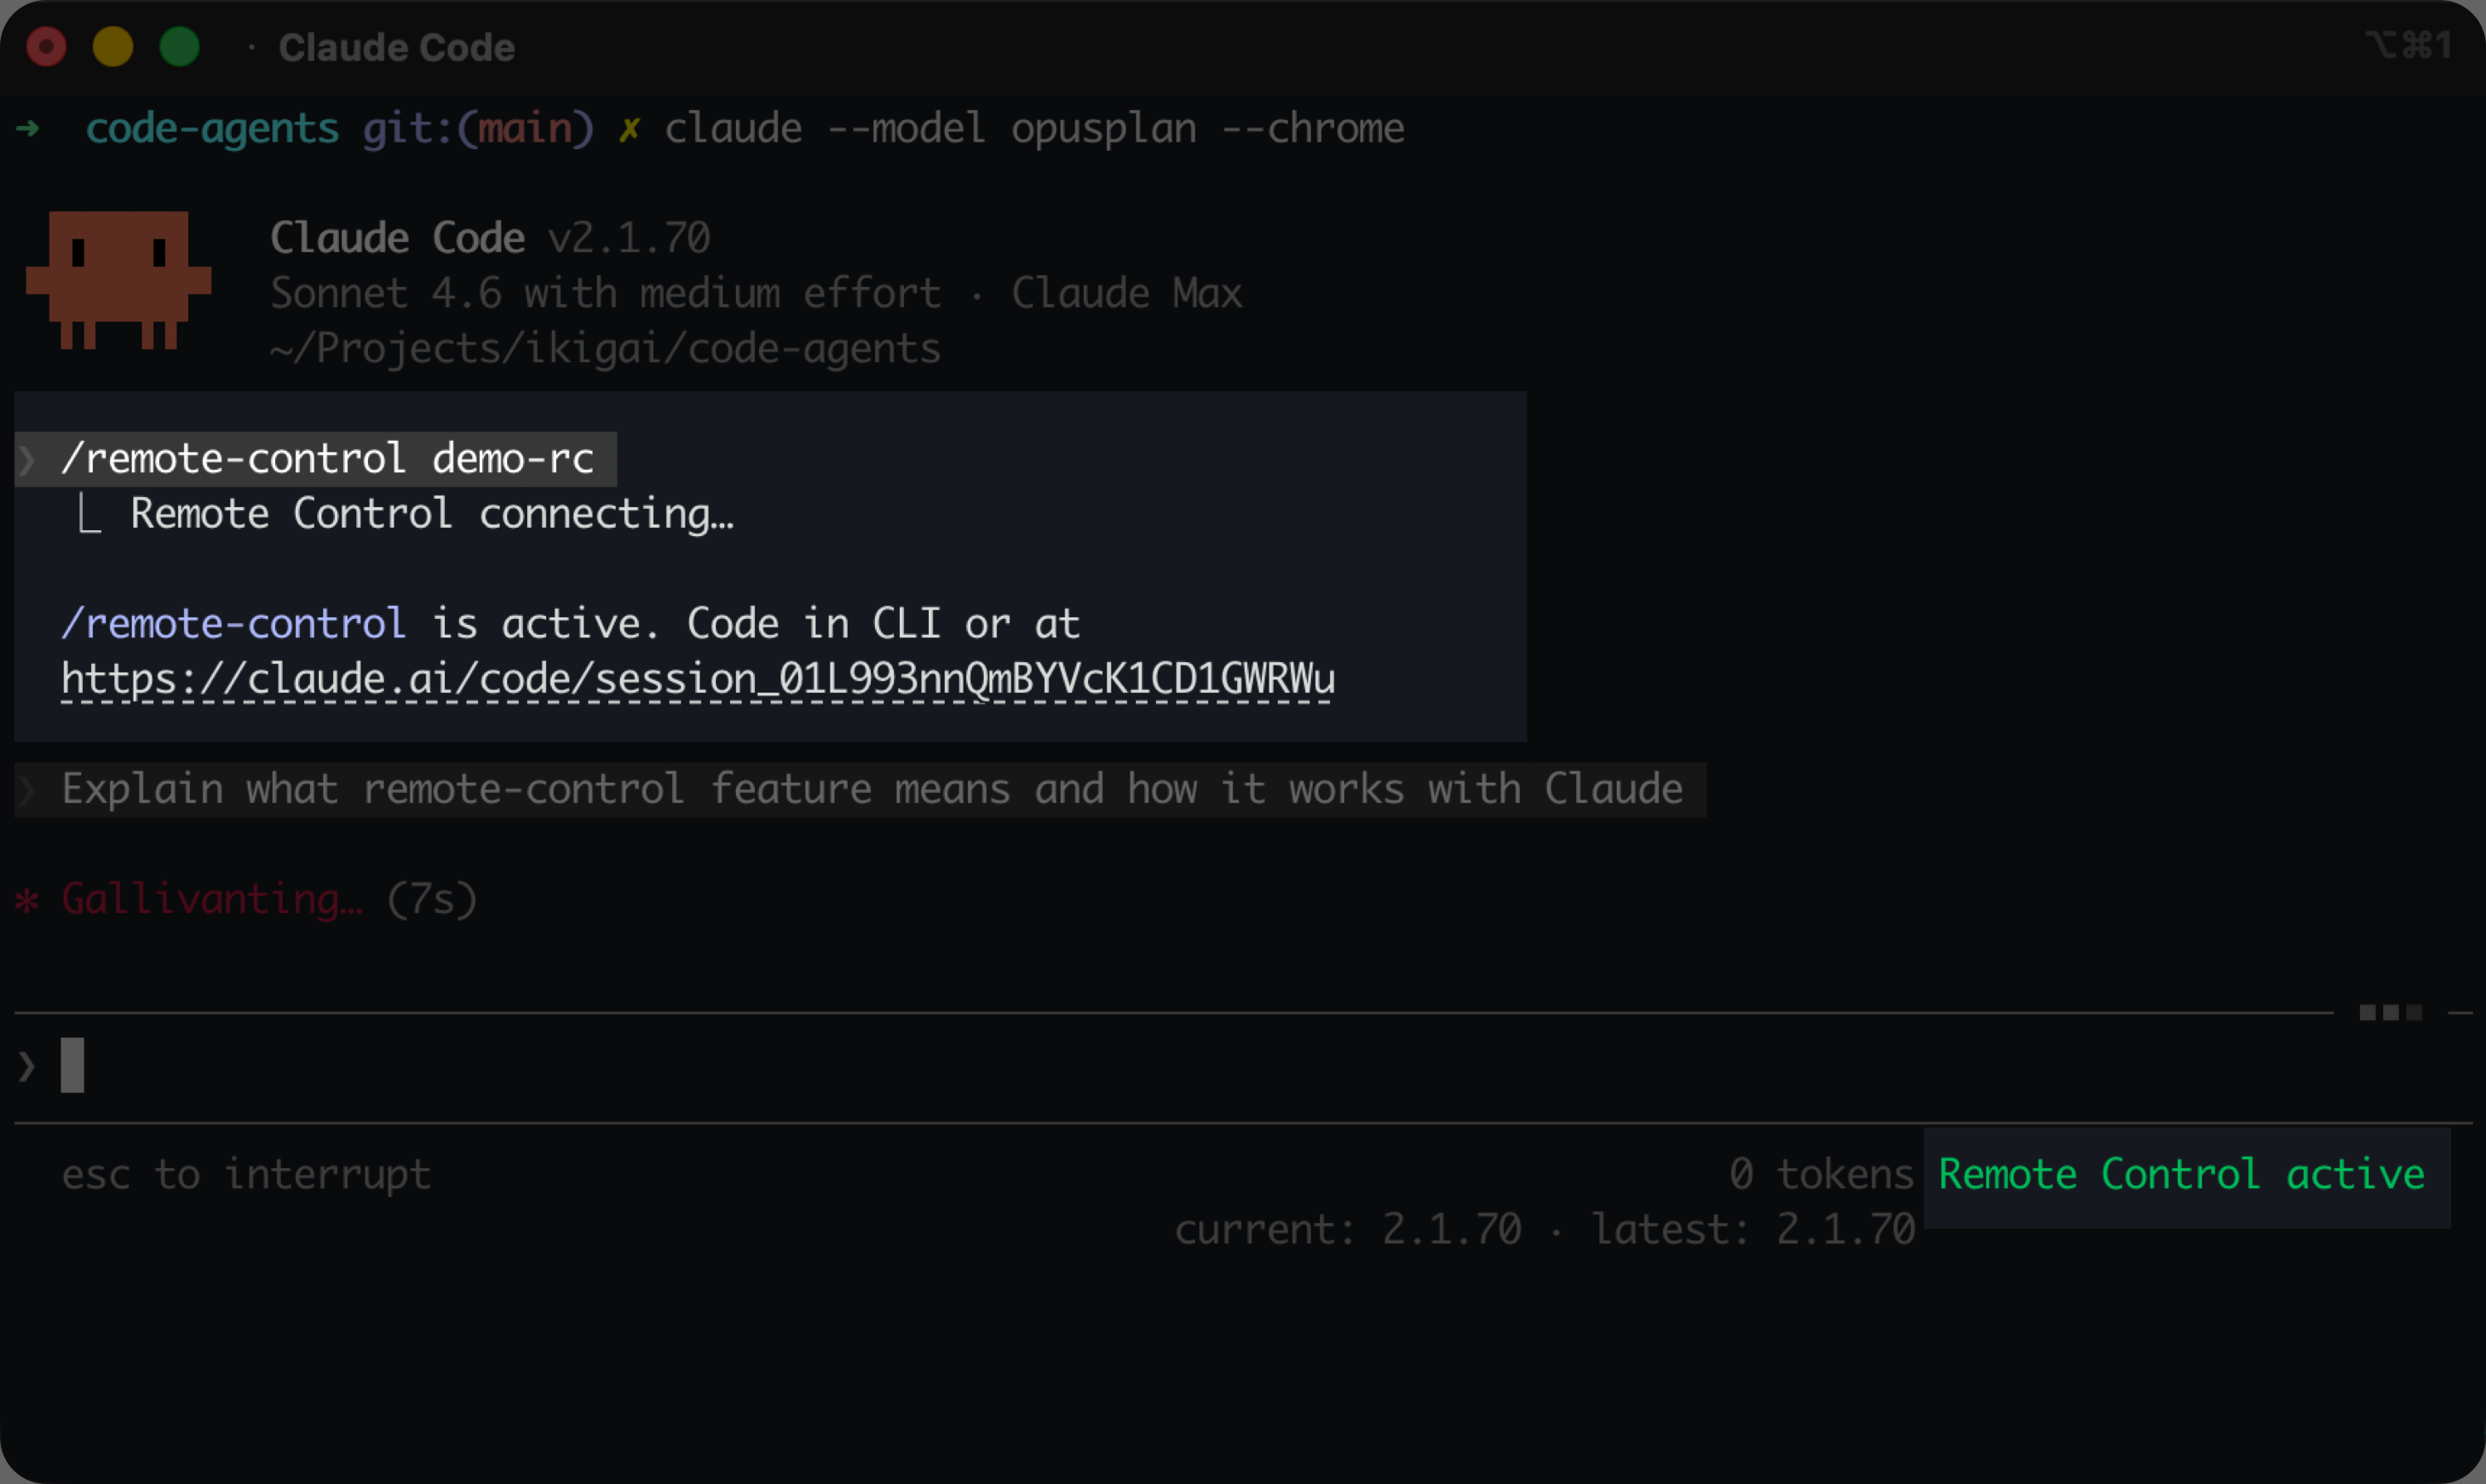
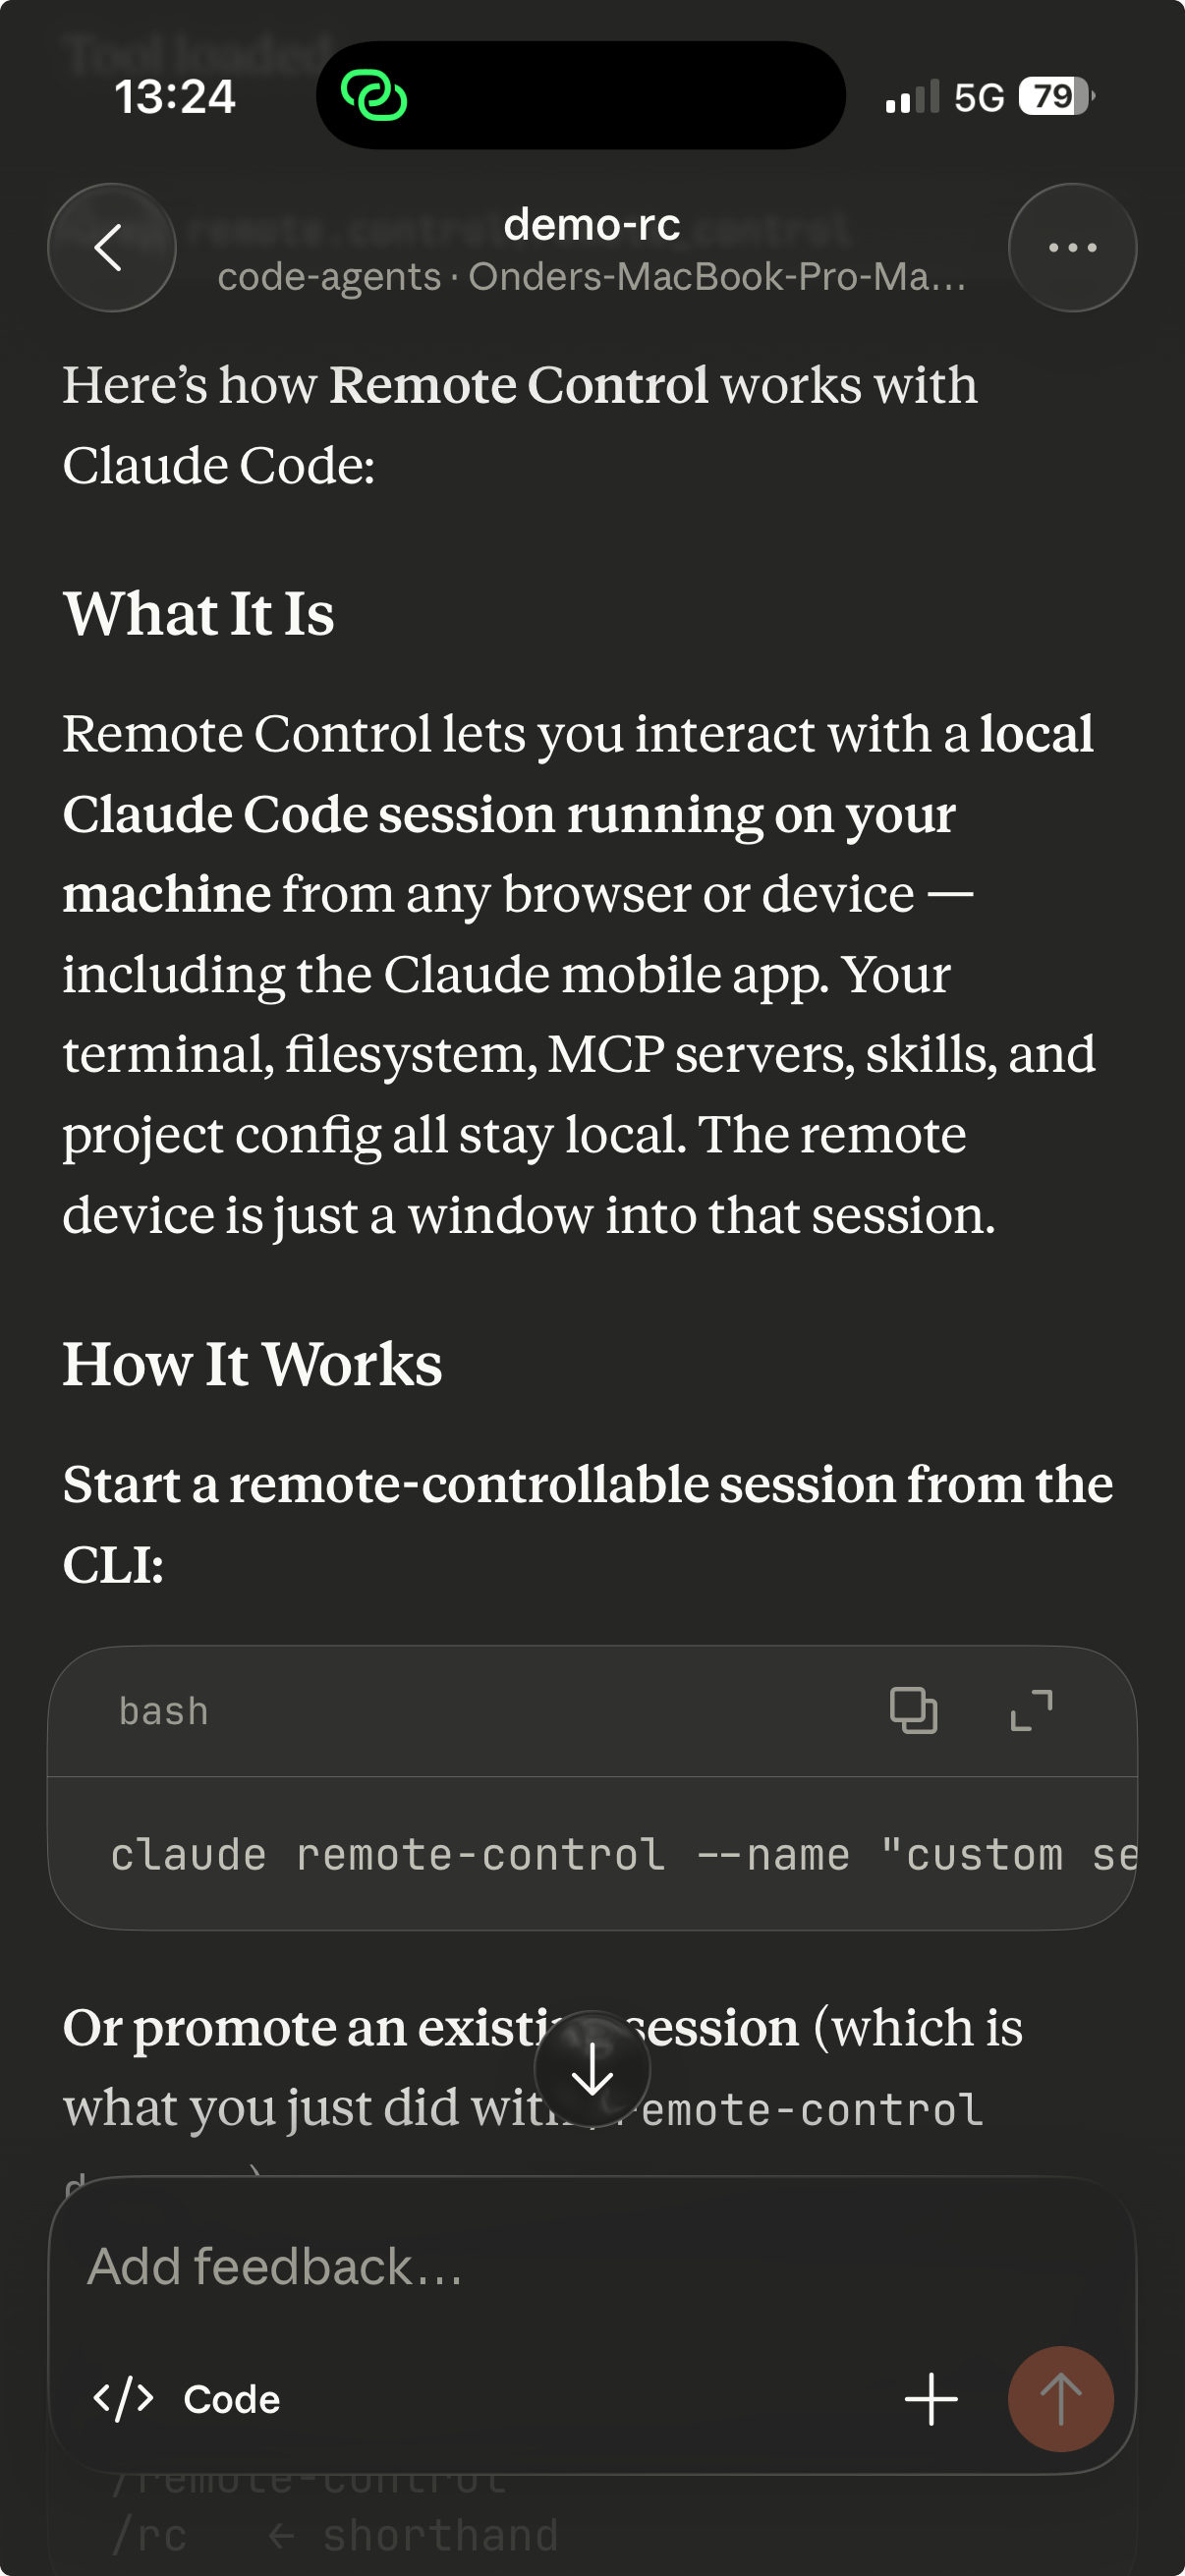
Remote Control runs on your machine, and nothing runs on the cloud. This is different from Claude Code on the web, which runs on Anthropic managed infrastructure.
I use this constantly when kicking off long running tasks. I start the task at my desk, walk away, and monitor the progress from my phone while taking a break from my desk.
You now have a fully configured Claude Code environment. Claude Code is installed and authenticated, you can navigate, interrupt, and redirect with intent, your IDE is wired up for inline diff review, and the browser extension is running as your first MCP server giving you live visual feedback.
Chapter 4 puts you in the driver's seat. You will choose a project, scaffold it with Claude, and configure the agent's permissions and settings so it works autonomously on safe operations while blocking dangerous ones.
You have reached the first milestone towards building your feedback loop with the Claude's browser MCP. But right now, every tool call prompts you for permission, breaking your flow and slowing down the agent.
Chapter 4 brings everything together: you will generate a project idea with your first skill, explore the .claude directory as your agent's operating system config, configure permissions so Claude works without interruption, and set meaningful defaults with claude config.
How is this chapter?
2. How Claude Code Works
Understand the agent harness architecture and predict what Claude Code will do before it does it.
4. Configuring Your First Project
Generate a project idea, scaffold your repo, and configure Claude's permissions and settings so the agent works autonomously on safe operations while blocking dangerous ones.